Zip Caulking: The Ultimate Guide to Easy and Efficient Home Sealing
Maintaining a well-sealed home is crucial for energy efficiency, preventing water damage, and ensuring overall comfort. Among the various methods available, zip caulking stands out as a convenient and effective solution. This comprehensive guide will delve into what zip caulking is, its benefits, how to use it, and why it’s a valuable tool for homeowners and professionals alike.
Understanding Zip Caulking
Zip caulking, often referred to as caulk strips or self-adhesive caulk tape, is a pre-formed sealant designed for quick and easy application. Unlike traditional caulking methods that require a caulk gun and careful application, zip caulking comes in a roll with an adhesive backing. This makes it incredibly user-friendly, even for those with limited DIY experience. The primary purpose of zip caulking is to create a waterproof and airtight seal in areas prone to drafts or moisture, such as around bathtubs, sinks, windows, and doors.
The composition of zip caulking typically includes a flexible, waterproof material like PVC or polyethylene, combined with a strong adhesive. This combination ensures durability and a reliable seal that can withstand daily wear and tear. The ease of use and effectiveness of zip caulking has made it a popular choice for both quick fixes and long-term sealing solutions.
Benefits of Using Zip Caulking
The advantages of using zip caulking are numerous. Here are some key benefits:
- Ease of Application: One of the most significant benefits is its simplicity. No special tools are required; simply peel off the backing and apply the strip to the desired area.
- Time-Saving: Compared to traditional caulking, zip caulking significantly reduces the time required for sealing. This is especially beneficial for large projects or when time is of the essence.
- Clean Application: Zip caulking eliminates the mess associated with traditional caulk guns. There’s no need to worry about excess caulk squeezing out or uneven lines.
- Cost-Effective: Zip caulking can be a more economical option, especially for small to medium-sized projects. The reduced waste and ease of use contribute to its overall cost-effectiveness.
- Versatility: Zip caulking can be used in various applications, including sealing around bathtubs, sinks, windows, doors, and even along countertops.
- Durability: High-quality zip caulking is designed to withstand moisture, temperature changes, and general wear and tear, providing a long-lasting seal.
- Aesthetic Appeal: Zip caulking provides a clean and uniform finish, enhancing the appearance of sealed areas. It’s available in various colors to match different surfaces and décor.
How to Apply Zip Caulking: A Step-by-Step Guide
Applying zip caulking is a straightforward process. Follow these steps for optimal results:
Preparation is Key
Before applying zip caulking, ensure the surface is clean, dry, and free from any old caulk or debris. Use a scraper or utility knife to remove any existing caulk, and then clean the area with a mild detergent and water. Allow the surface to dry completely before proceeding.
Measure and Cut
Measure the length of the area you want to seal and cut the zip caulking strip accordingly. It’s better to cut slightly longer than needed; you can always trim off any excess later.
Peel and Stick
Carefully peel off a small section of the adhesive backing. Align the zip caulking strip with the edge of the area you want to seal. Press firmly to ensure good adhesion, gradually peeling off the remaining backing as you go. Avoid stretching the strip, as this can compromise the seal.
Smooth and Seal
Once the zip caulking is in place, use your finger or a small smoothing tool to press down along the entire length of the strip. This ensures a tight seal and removes any air bubbles. Pay particular attention to corners and joints, making sure they are properly sealed.
Trim Excess
If there is any excess zip caulking, use a sharp utility knife to trim it off. Make sure to cut cleanly and evenly for a professional finish.
Common Applications of Zip Caulking
Zip caulking is incredibly versatile and can be used in a variety of applications around the home. Here are some common uses:
Bathtubs and Showers
Sealing around bathtubs and showers is essential to prevent water damage and mold growth. Zip caulking provides a waterproof barrier that keeps moisture out and protects the surrounding surfaces. Regular maintenance and reapplication of zip caulking can extend the life of your bathroom fixtures.
Sinks and Countertops
The area where sinks meet countertops is another common spot for leaks and water damage. Applying zip caulking here can create a watertight seal, preventing water from seeping into cabinets and causing structural damage. Choose a color that complements your sink and countertop for a seamless look.
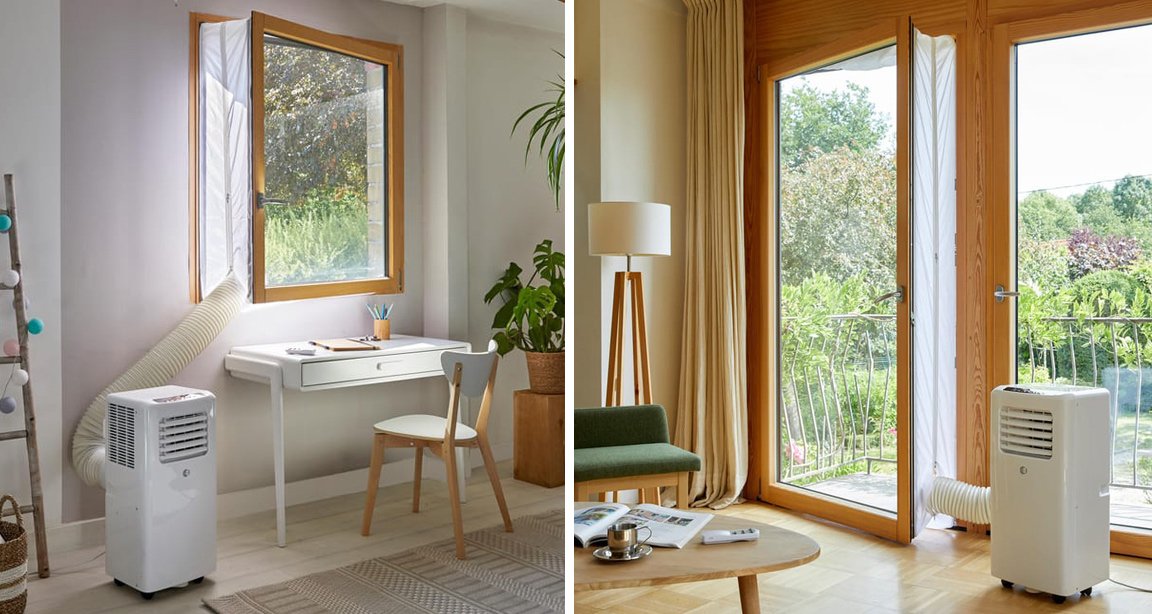
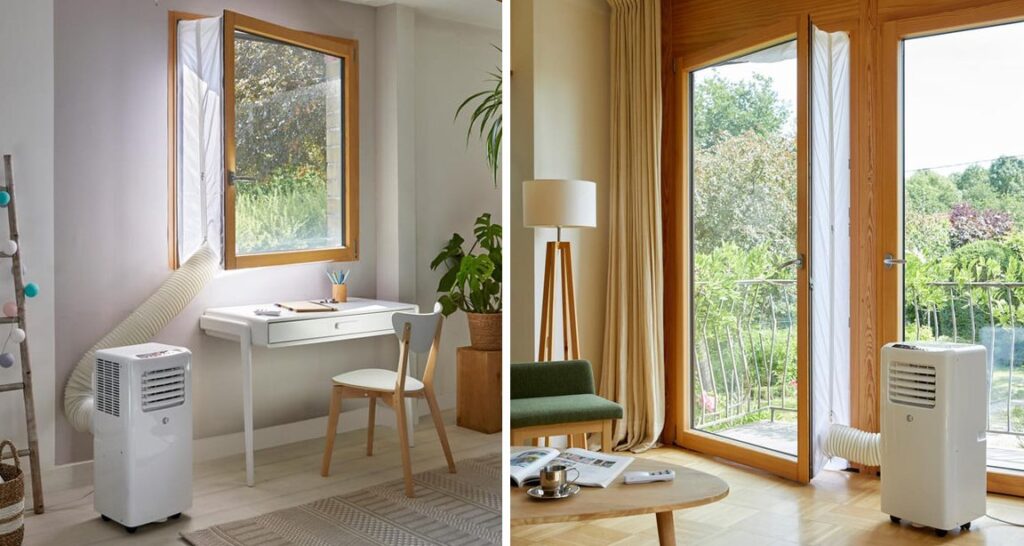
Windows and Doors
Drafty windows and doors can significantly impact energy efficiency. Zip caulking can be used to seal gaps and cracks around windows and doors, reducing drafts and lowering energy bills. Consider using weather-resistant zip caulking for exterior applications.
Baseboards and Trim
Zip caulking can also be used to seal gaps between baseboards and walls, or trim and walls, providing a clean and finished look. This not only improves the aesthetics of your home but also prevents dust and insects from entering through these small openings.
Choosing the Right Zip Caulking
With various types of zip caulking available, it’s essential to choose the right product for your specific needs. Consider the following factors:
- Material: Zip caulking is typically made from PVC or polyethylene. PVC is more durable and resistant to moisture, while polyethylene is more flexible and easier to apply.
- Adhesive Strength: Look for zip caulking with a strong adhesive that will adhere well to the surface. Read reviews and check product specifications to ensure the adhesive is suitable for your intended application.
- Color: Choose a color that matches or complements the surrounding surfaces. Zip caulking is available in various colors, including white, clear, and beige.
- Width and Thickness: Select the appropriate width and thickness based on the size of the gap you need to seal. Wider gaps may require thicker zip caulking for effective sealing.
- Special Features: Some zip caulking products come with special features, such as mold and mildew resistance, UV protection, or paintability. Consider these features based on your specific needs and environment.
Tips for Successful Zip Caulking Application
To ensure a successful zip caulking application, keep the following tips in mind:
- Clean the Surface Thoroughly: A clean surface is essential for proper adhesion. Remove any old caulk, dirt, or debris before applying zip caulking.
- Apply in a Well-Ventilated Area: Some zip caulking products may release fumes during application. Ensure the area is well-ventilated to avoid inhaling harmful vapors.
- Use a Smoothing Tool: A smoothing tool can help create a tight and even seal. This is especially important for corners and joints.
- Avoid Stretching the Strip: Stretching the zip caulking strip can compromise the seal. Apply it gently and avoid pulling or tugging.
- Allow Sufficient Drying Time: Allow the zip caulking to dry completely before exposing it to moisture or heavy use. Check the product instructions for recommended drying times.
- Inspect Regularly: Periodically inspect the zip caulking for signs of wear and tear. Replace it as needed to maintain a proper seal.
Troubleshooting Common Zip Caulking Issues
While zip caulking is generally easy to apply, you may encounter some common issues. Here are some troubleshooting tips:
- Poor Adhesion: If the zip caulking is not adhering properly, make sure the surface is clean and dry. You may also need to use a stronger adhesive or primer.
- Air Bubbles: Air bubbles can compromise the seal. Use a smoothing tool to press down firmly and remove any trapped air.
- Uneven Application: Uneven application can result in a messy appearance. Take your time and apply the zip caulking slowly and carefully.
- Cracking or Peeling: Cracking or peeling can indicate that the zip caulking is not suitable for the environment or that it was not applied properly. Replace it with a more durable product and follow the application instructions carefully.
- Mold and Mildew Growth: If mold and mildew grow on the zip caulking, clean it with a mold and mildew remover. Consider using mold-resistant zip caulking for future applications.
Zip Caulking vs. Traditional Caulking
While both zip caulking and traditional caulking serve the same purpose, they have distinct differences. Traditional caulking requires a caulk gun and more skill to apply evenly. It can be messier and more time-consuming. Zip caulking, on the other hand, is easier to apply and requires no special tools. However, traditional caulking may offer a more durable and longer-lasting seal, especially in high-moisture environments. The choice between zip caulking and traditional caulking depends on your skill level, the size of the project, and your budget.
The Future of Home Sealing: Zip Caulking’s Role
As technology advances, zip caulking is likely to become even more innovative and user-friendly. Future developments may include improved adhesive formulations, more durable materials, and smart features, such as color-changing indicators that signal when the seal is compromised. The convenience and effectiveness of zip caulking make it a promising solution for the future of home sealing.
In conclusion, zip caulking offers a convenient, cost-effective, and efficient way to seal your home. Its ease of use, versatility, and durability make it an excellent choice for both DIY enthusiasts and professionals. By following the steps and tips outlined in this guide, you can achieve a perfect seal every time, protecting your home from water damage, drafts, and energy loss. Embrace the simplicity and effectiveness of zip caulking and enjoy a more comfortable and energy-efficient home.
[See also: How to Choose the Right Caulking for Your Bathroom]
[See also: DIY Home Improvement Projects for Beginners]
[See also: Energy Efficiency Tips for Homeowners]
