
The Ultimate Guide to Balayage Bonnets: Achieving Salon-Quality Highlights at Home
Balayage, the French highlighting technique known for its seamless, sun-kissed effect, has become a staple in the world of hair coloring. While traditionally achieved with freehand painting, a new tool has emerged to make the process more accessible: the balayage bonnet. This comprehensive guide delves into everything you need to know about balayage bonnets, from their benefits and how to use them, to choosing the right one and maintaining your highlighted hair. Whether you’re a seasoned DIY enthusiast or a complete beginner, this article will equip you with the knowledge to achieve salon-worthy balayage highlights from the comfort of your own home using a balayage bonnet.
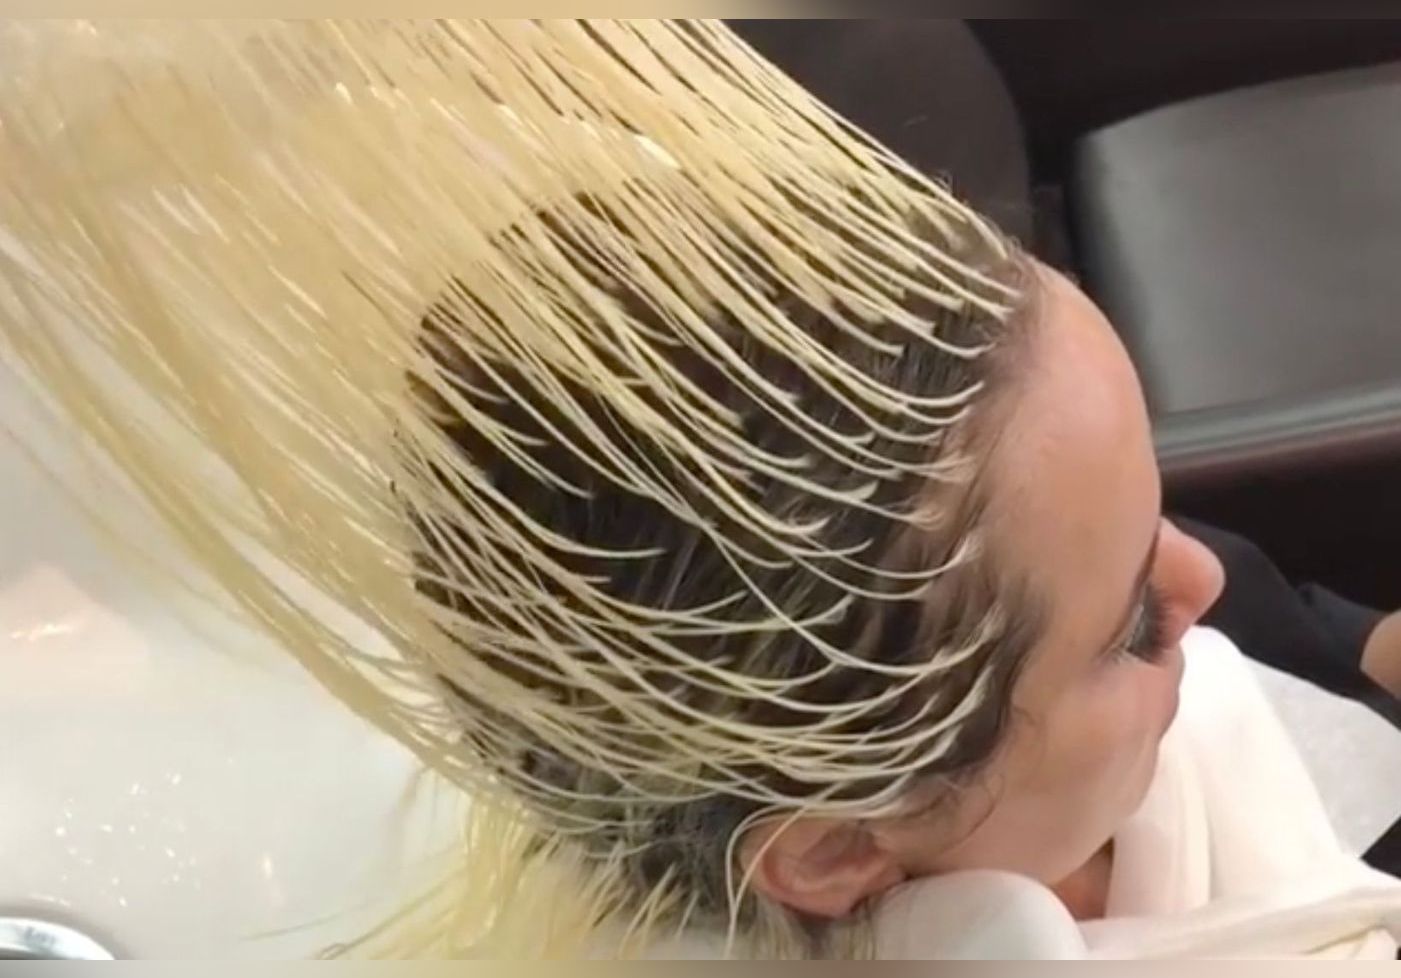
What is a Balayage Bonnet?
A balayage bonnet is a cap with strategically placed holes designed to allow strands of hair to be pulled through. This allows for precise application of hair lightener or dye, mimicking the blended effect of traditional balayage. Unlike foil highlights, which can sometimes create harsh lines, a balayage bonnet helps to achieve a softer, more natural-looking transition between colored and uncolored hair.
Benefits of Using a Balayage Bonnet
- Ease of Use: Balayage bonnets simplify the highlighting process, making it accessible to those without professional training.
- Cost-Effective: Achieving balayage at home saves money compared to salon visits.
- Precise Application: The bonnet’s holes ensure even distribution of highlights.
- Customizable Results: You control the amount and placement of highlights.
- Time-Saving: Highlighting at home can be quicker than scheduling and attending salon appointments.
Choosing the Right Balayage Bonnet
Selecting the right balayage bonnet is crucial for achieving optimal results. Consider these factors:
- Material: Opt for a durable, reusable material like silicone. Avoid flimsy plastic options that can tear easily.
- Hole Size and Placement: The size and spacing of the holes determine the thickness and density of your highlights. Look for bonnets with varied hole sizes to customize your look.
- Adjustability: Some balayage bonnets feature adjustable straps or closures to ensure a snug and comfortable fit.
- User Reviews: Read reviews from other users to gauge the bonnet’s effectiveness and durability.
Step-by-Step Guide: Using a Balayage Bonnet for Highlights
Follow these steps for successful at-home balayage using a balayage bonnet:
- Preparation: Gather your supplies, including the balayage bonnet, hair lightener or dye, developer, mixing bowl, applicator brush, gloves, and a towel to protect your clothing.
- Strand Test: Perform a strand test to determine the processing time and ensure you’re happy with the color.
- Apply the Bonnet: Carefully place the balayage bonnet on your head, ensuring all your hair is tucked inside. Secure any adjustable straps.
- Pull Hair Through: Using a crochet hook or the provided tool, gently pull strands of hair through the holes you’ve selected. Vary the placement for a natural look.
- Mix the Lightener/Dye: Follow the instructions on your chosen hair lightener or dye to mix it with the developer.
- Apply the Color: Using the applicator brush, carefully apply the lightener or dye to the strands of hair pulled through the bonnet. Ensure even coverage.
- Processing Time: Allow the color to process according to the manufacturer’s instructions. Check the strand test regularly to monitor the color development.
- Rinse and Condition: Once the processing time is complete, thoroughly rinse your hair with water. Remove the balayage bonnet and apply a deep conditioner to replenish moisture.
- Style as Usual: Style your hair as desired and enjoy your new balayage highlights!
Tips for Achieving the Best Balayage Results with a Bonnet
- Start Small: If you’re new to balayage, begin with a small section to get a feel for the process.
- Vary the Placement: Pull hair through different holes each time to create a more natural, blended effect.
- Use a Low Developer: Opt for a lower volume developer to minimize damage to your hair.
- Moisturize Regularly: Highlighted hair tends to be drier, so incorporate moisturizing masks and leave-in conditioners into your routine.
- Protect from Heat: Minimize heat styling and use a heat protectant spray when necessary.
Maintaining Your Balayage Highlights
Proper maintenance is essential to keep your balayage highlights looking fresh and vibrant. Here are some tips:
- Use Sulfate-Free Shampoo: Sulfate-free shampoos are gentler on colored hair and help prevent fading.
- Avoid Over-Washing: Washing your hair too frequently can strip it of its natural oils and cause the color to fade.
- Use a Purple Shampoo: Purple shampoo helps to neutralize brassy tones and keep your highlights looking bright.
- Deep Condition Regularly: Deep conditioning treatments replenish moisture and prevent breakage.
- Protect from the Sun: UV rays can fade your hair color, so wear a hat or use a UV protectant spray when spending time outdoors.
Addressing Common Concerns About Balayage Bonnets
Here are some frequently asked questions about using balayage bonnets:
- Will the bonnet damage my hair? When used correctly with a low-volume developer, a balayage bonnet is unlikely to cause significant damage. However, it’s crucial to perform a strand test and follow the manufacturer’s instructions carefully.
- How do I clean the bonnet? Most balayage bonnets can be cleaned with soap and water. Allow it to air dry completely before storing.
- Can I use a balayage bonnet on short hair? While balayage bonnets are typically designed for longer hair, you may be able to use them on shorter styles with some adjustments. Ensure that you can pull the hair through the holes without causing discomfort.
- How often should I re-touch my balayage? The frequency of re-touches depends on your hair growth and the desired look. Generally, re-touching every 8-12 weeks is recommended to maintain the balayage effect.
The balayage bonnet offers a convenient and affordable way to achieve beautiful, salon-quality highlights at home. By following these tips and guidelines, you can confidently create a stunning balayage look that enhances your natural beauty. Remember to always prioritize the health of your hair and choose products that are gentle and nourishing. With a little practice and patience, you’ll be mastering the art of balayage with a bonnet in no time.
Embrace the freedom and flexibility of DIY hair coloring with a balayage bonnet. Experiment with different tones and placements to create a unique look that reflects your personal style. Happy highlighting!
[See also: How to Choose the Right Hair Dye for Your Skin Tone]
[See also: The Best Hair Masks for Dry and Damaged Hair]
[See also: At-Home Hair Color: Tips and Tricks for a Perfect Application]
