
Bonnet Balayage: Achieve Salon-Worthy Highlights at Home
The quest for perfectly highlighted hair often leads to expensive salon visits and hours spent in a stylist’s chair. But what if you could achieve salon-worthy results from the comfort of your own home? Enter the bonnet balayage technique, a DIY method that’s gaining popularity for its ease and affordability. This article delves into the world of bonnet balayage, exploring its benefits, process, and essential tips for achieving stunning, sun-kissed highlights without breaking the bank. We’ll cover everything from selecting the right products to mastering the application technique, ensuring you can confidently create a beautiful bonnet balayage look.
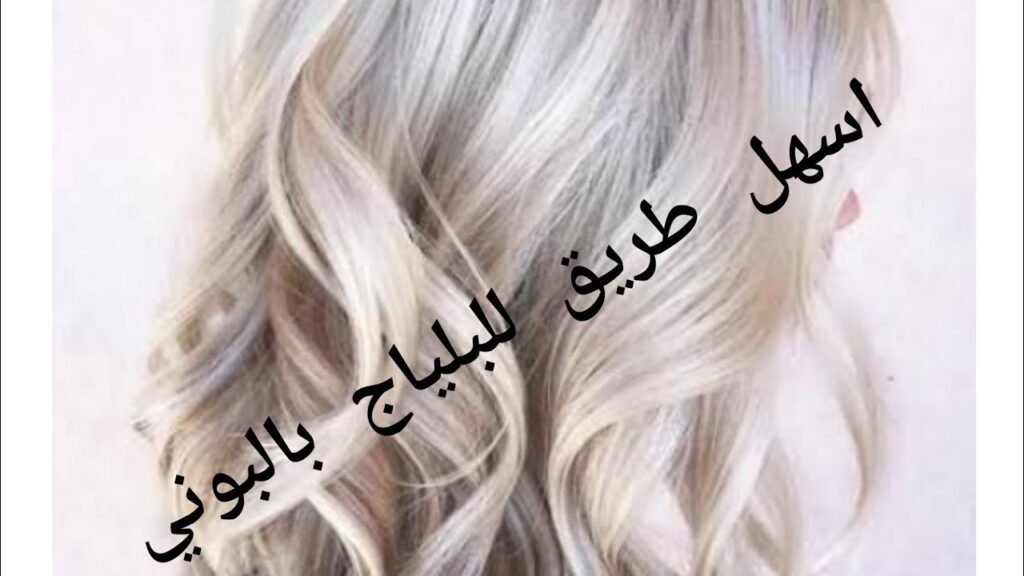
What is Bonnet Balayage?
Bonnet balayage is a highlighting technique that uses a specialized bonnet with small holes to pull strands of hair through. These strands are then lightened, creating a soft, blended effect similar to traditional balayage. Unlike traditional balayage, which involves hand-painting highlights, bonnet balayage offers a more structured and controlled approach, making it an ideal option for those new to DIY hair coloring. The bonnet helps distribute the highlights evenly, minimizing the risk of harsh lines or uneven color.
The technique is particularly well-suited for creating face-framing highlights or adding subtle dimension to the hair. It’s a great way to brighten your overall look without committing to a full head of color. The bonnet balayage method offers a customizable and relatively easy way to achieve professional-looking results at home.
Benefits of Bonnet Balayage
- Affordability: Avoid expensive salon visits and save money by doing it yourself.
- Convenience: Highlight your hair from the comfort of your own home, at your own pace.
- Control: Customize the placement and intensity of your highlights to achieve your desired look.
- Accessibility: The technique is relatively easy to learn and master, even for beginners.
- Even Distribution: The bonnet ensures that highlights are distributed evenly throughout the hair.
- Less Damage: By highlighting smaller sections of hair, bonnet balayage can be less damaging than traditional highlighting methods.
Essential Tools and Products
Before embarking on your bonnet balayage journey, gather the following tools and products:
- Bonnet: A specialized bonnet balayage with evenly spaced holes. These are readily available online or at beauty supply stores.
- Highlighting Kit: Choose a highlighting kit specifically designed for balayage or ombre techniques. Consider your natural hair color and desired level of lift when selecting the developer volume.
- Applicator Brush: A small, angled brush is ideal for applying the lightener to the pulled-through strands.
- Gloves: Protect your hands from the chemicals in the lightener.
- Mixing Bowl: For mixing the lightener and developer.
- Timer: To ensure you process the lightener for the correct amount of time.
- Towel: To protect your clothing from spills and splatters.
- Hair Clips: To section off your hair and keep it out of the way.
- Purple Shampoo and Conditioner: To tone the highlights and neutralize any brassiness.
Step-by-Step Guide to Bonnet Balayage
- Prepare Your Hair: Start with clean, dry hair. Brush it thoroughly to remove any tangles.
- Put on the Bonnet: Carefully place the bonnet balayage on your head, ensuring it fits snugly.
- Pull Hair Through: Using a crochet hook or the provided tool, gently pull small strands of hair through the holes in the bonnet. The amount of hair you pull through will determine the intensity of your highlights. For a more subtle effect, pull through fewer strands.
- Mix the Lightener: Follow the instructions on your highlighting kit to mix the lightener and developer in the mixing bowl.
- Apply the Lightener: Using the applicator brush, carefully apply the lightener to the strands of hair that you pulled through the bonnet. Start at the roots and work your way down to the ends. Ensure that all strands are evenly coated.
- Process the Lightener: Refer to the instructions on your highlighting kit for the recommended processing time. Keep a close eye on the highlights and check their progress every few minutes.
- Rinse and Shampoo: Once the highlights have reached your desired level of lightness, rinse your hair thoroughly with water. Then, shampoo your hair with a purple shampoo to neutralize any brassiness.
- Condition and Tone: Apply a moisturizing conditioner to your hair and leave it on for a few minutes. Rinse thoroughly. You can also use a toner to further refine the color of your highlights.
- Remove the Bonnet: Carefully remove the bonnet balayage from your head.
- Style Your Hair: Style your hair as usual and enjoy your beautiful new highlights!
Tips for Achieving the Best Results
- Choose the Right Products: Select a highlighting kit that is specifically designed for balayage or ombre techniques. Consider your natural hair color and desired level of lift when choosing the developer volume.
- Do a Strand Test: Before applying the lightener to your entire head, do a strand test to see how your hair reacts to the product. This will help you avoid any unwanted surprises.
- Don’t Overlap: When applying the lightener, avoid overlapping it onto previously lightened hair. This can cause breakage and damage.
- Use a Toner: A toner can help to refine the color of your highlights and neutralize any brassiness.
- Moisturize Regularly: Highlighting can be drying to the hair, so be sure to moisturize regularly with a deep conditioner or hair mask.
- Be Patient: Achieving the perfect bonnet balayage takes time and patience. Don’t rush the process, and be sure to follow the instructions carefully.
Common Mistakes to Avoid
- Using the Wrong Developer Volume: Using a developer volume that is too high can cause damage to your hair.
- Leaving the Lightener on for Too Long: Over-processing the lightener can lead to breakage and damage.
- Not Doing a Strand Test: Failing to do a strand test can result in unwanted surprises.
- Overlapping the Lightener: Overlapping the lightener can cause breakage and damage.
- Not Using a Toner: Skipping the toner can leave your highlights looking brassy.
Maintaining Your Bonnet Balayage
To keep your bonnet balayage looking its best, follow these tips:
- Use Purple Shampoo and Conditioner: Purple shampoo and conditioner can help to neutralize any brassiness and keep your highlights looking bright.
- Deep Condition Regularly: Highlighting can be drying to the hair, so be sure to deep condition regularly with a moisturizing hair mask.
- Avoid Heat Styling: Excessive heat styling can damage your hair, so try to air dry your hair whenever possible. If you must use heat, use a heat protectant spray.
- Get Regular Trims: Regular trims can help to prevent split ends and keep your hair looking healthy.
- Touch Up Your Roots: As your hair grows, you may need to touch up your roots to maintain your bonnet balayage.
Is Bonnet Balayage Right for You?
Bonnet balayage is a great option for those who are looking for an affordable and convenient way to achieve salon-worthy highlights at home. It’s a relatively easy technique to learn and master, even for beginners. However, it’s important to choose the right products, follow the instructions carefully, and be patient. If you’re not comfortable highlighting your hair yourself, it’s always best to consult with a professional stylist.
Ultimately, the bonnet balayage technique offers a fantastic way to experiment with highlights and achieve a sun-kissed look without the hefty price tag of salon services. With careful planning and execution, you can enjoy beautiful, professionally-inspired highlights right in your own bathroom.
[See also: Balayage vs. Ombre: Understanding the Differences]
[See also: How to Choose the Right Hair Color for Your Skin Tone]
